
Canva is a widely popular online graphic design platform that allows users to create professional designs without any previous design experience.
One of the exciting features of Canva is the Magic Design tool, which is perfect for creating custom logos for your business or personal brand. Magic Design can be used to develop products for almost any purpose, including for logo creation.
By learning to use the Magic Design tool, we have the potential to streamline many creative workflows. It’s not just a tool for creating art and images, but for formatting that art into something with more substance, like converting your craft into a Logo.
What is Magic Design in Canva?
Magic Design is an advanced feature within Canva that uses artificial intelligence to help users generate unique design ideas.
It simplifies the design process and offers a wide range of customizable templates, fonts, and graphics that can be tailored to your specific needs.
With Magic Design, you can create a polished logo without the hassle of starting from scratch. Magic design aims to define your template based on a wide selection of categories and filters to end up with something that is perfect for you.
Examples of this could be a corporate business card or a modern yet colorful Instagram post. Canva specializes in providing designers with any conceivable template that they require to work off of.
And if you want even more customization, you can upload your own images using the Ai functionality, and Canva will attempt to create templates based on your uploaded images.
So let’s walk through our step-by-step guide for using the Magic Design feature set in Canva to create a customized logo unique to your brand.
There are two pathways that we can take to create our own logos in Canva. The first is the manual way, where we start from scratch. The second uses Magic Design to create the perfect template we can edit as much as we need for our ideal logo.
For most users, the second workflow would be ideal for saving time and potentially getting a better result if you are not a pro at using design tools. The first is for those looking for complete control over the entire process and want to start from scratch.
Workflow 1 – The Manual Way
- Sign Up Or Log In To Canva
- Navigate To The Logo Design Page
- Create Your Logo From Scratch
- Download Your Logo
Workflow 2 – The Magic Way
- Sign Up Or Log In To Canva
- Access The Magic Design Feature In Templates
- Choose Your Template With Ai
- Create Your Own Template Using Magic Design
- Edit Your Template
- Download Your Logo
It may seem like there are more steps here for the second logo, but trust us. When using workflow 1 to create a logo from scratch, step 3 can take a significant amount of time, which means that choosing the magic way can end up much faster in the end and produce better results depending on your skill level with design.
Workflow 1
Sign Up Or Log In To Canva
Visit the Canva website at www.canva.com and sign up for a free account if you don’t already have one. If you’re already a registered user, log in with your credentials.
It is required to have at least a free account to use Canva, and the vast majority of features available in Canva are a part of the free account option.
However, do note that many elements and templates, as well as more advanced tools like ai tools and the Magic Design Ai tool, will only be available if you were to subscribe to the pro account of Canva, which can be simply by going to billing and plans over in your account section and upgrading your plan.
Navigate To The Logo Design Page
On the homepage, click the ‘Create a design’ button, and then type in Logo in the prompt box. Choose ‘Logo’ from the list of options. This will take you to the logo design page, where you can access the tools required to create your logo and other designs.
Create Your Logo From Scratch
By accessing the design page in this way, we start with a blank canvas. We can add colors, text, and elements if we want 100% control over the appearance of our logo. This is the preferred choice for those confident in their design skills and willing to start from blank.
In the side panel, we can access all the tools required to add various elements to our blank canvas. For example, we could go to the Elements tab and add a filled circle to the canvas, then we could add the Name of our company or brand as a part of the Logo by using the Text options.
We could even add a rectangular shape to go behind the text using the Elements tab, add it into the canvas, and then right-click to position it behind the text as Canva Design uses a layering system.
With each element, we can click and select that element, and then in the header bar, we have editing tools specific to the type of elements selected. With our text, we can change the font; with our shapes, we can change the color and the border strength. Ending up with something like this…
While this is basic, it took two minutes to create, thanks to the layer system and excellent user interface. The more time that we spend, the better the logo design will become.
If you have the pro version of Canva, then you will be able to enable the transparency option from the download menu.
This is something that we highly recommend for the majority of logos. If you upload a logo and the backdrop of the site is not the same color as the background of your logo, that background becomes visible and the logo ends up looking unprofessional.
The only exception might be if the background of the canvas is entirely covered by a shape like a square or a rectangle. In short, for logo creation, we recommend going pro for this feature.
When your logo has been downloaded, you can then use it for any application that you require, such as using it for your website or brand page.
Workflow 2
Sign Up Or Log In To Canva
Visit the Canva website at www.canva.com and sign up for a free account if you don’t already have one. If you’re already a registered user, log in with your credentials.
It is required to have at least a free account to use Canva, and the vast majority of features that are available in Canva are a part of the free account option.
However do note that many elements and templates, as well as more advanced tools like ai tools and the Magic Design Ai tool, will only be available if you were to subscribe to the pro account of Canva, which can be simply by going to billing and plans over in your account section and upgrading your plan.
If using this workflow, it is highly recommended that you have a subscription to Canva Pro to gain full access to the features of Magic Design.
Access The Templates Section
If you want to use the Magic Design features, then you will need to make your way to the templates or access using the appropriate URL. If you go to https://www.canva.com/magic-design/ it will take you to a page with a single purple button labeled ‘Try Magic Design’. Left-click to access the templates and the magic design feature.
Alternatively, you can go to the home page of the Canva website, go to the side panel, and then select the all templates option. Then when you see your templates click the Try Magic Design Button that appears towards the top.
Input Design Preferences
In this template menu you can use several tools to define precisely what you want to use as the base of your design. In our case we want to create a logo.
In Canva, Logos are defined as categories for our templates, so we will need to access the categories menu located towards the top.
Logos can be found by going to the marketing section in the category menu. Left-click on the option, and the templates will switch out to show logos exclusively.
You can then further define your logo by choosing an appropriate filter. Click on the All Filters button, and a hidden side panel will appear.
This will allow you to define characteristics to suit your logo. You can specify the general style of the logo, the main theme, any features like videos that may be used for things like Youtube introductions, and Grade levels if you want it to look a bit more like a school project, subject, topic, and even brand color.
For our example, let’s go with an elegant style, coupled with Brand set as the topic, then click the apply button.
The number of available options will be noted in parenthesis next to each parameter in the side menu and changes as more parameters are enabled, so keep that in mind.
By using these two filters, we limit the number of available templates to 380 in our case. We could apply one or two more filters to shrink the field further but let’s see if we can find a logo we like. As we scroll through our options, we come across a logo that we like the look of.
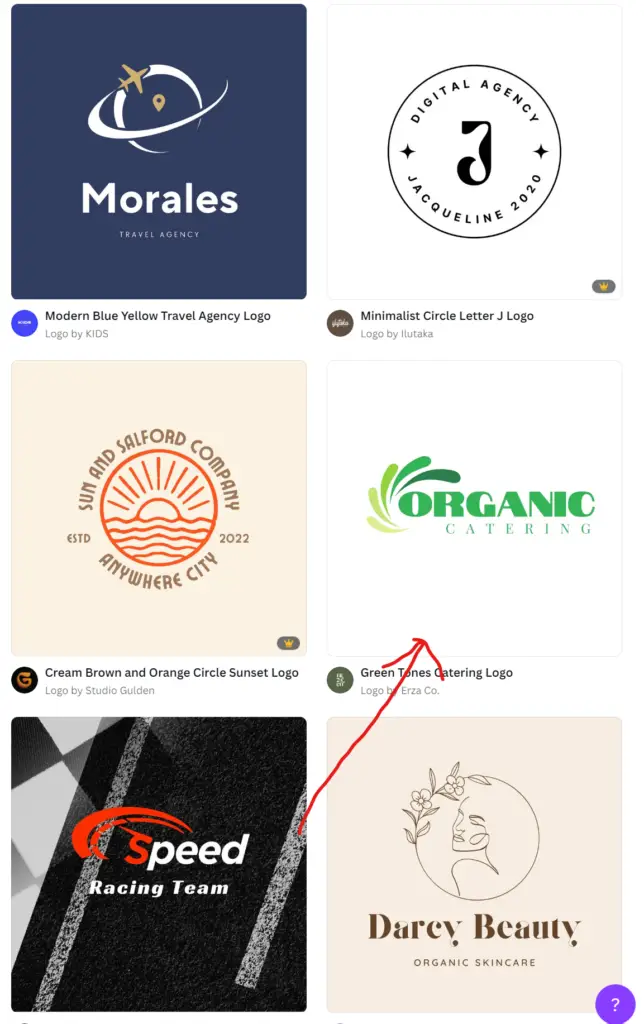
Choose A Logo Design
If you want to use a specific logo, left-click on it to bring up a window that has details on the template’s design.
Most templates will, but make sure to look out for quotes like ‘100% customizable’ and ‘Share and publish anywhere’ so that you have full control of the chosen template and how you want to use it.
Click on the option in the top corner labeled ‘Customize This Template’, and a new window will open in your browser, taking you to the canvas page. This time, however, the chosen template will already be waiting for you to begin editing.
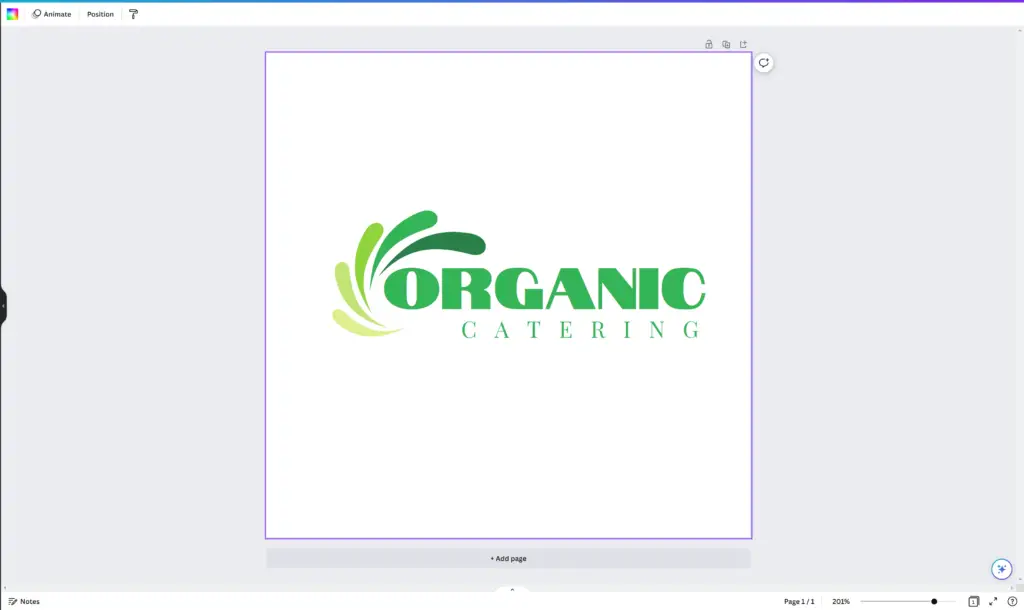
Customize The Logo
The best theme about this workflow is that you can still select all the elements of your workflow and begin editing them. For example, we could select the graphic and change each of the colors used.
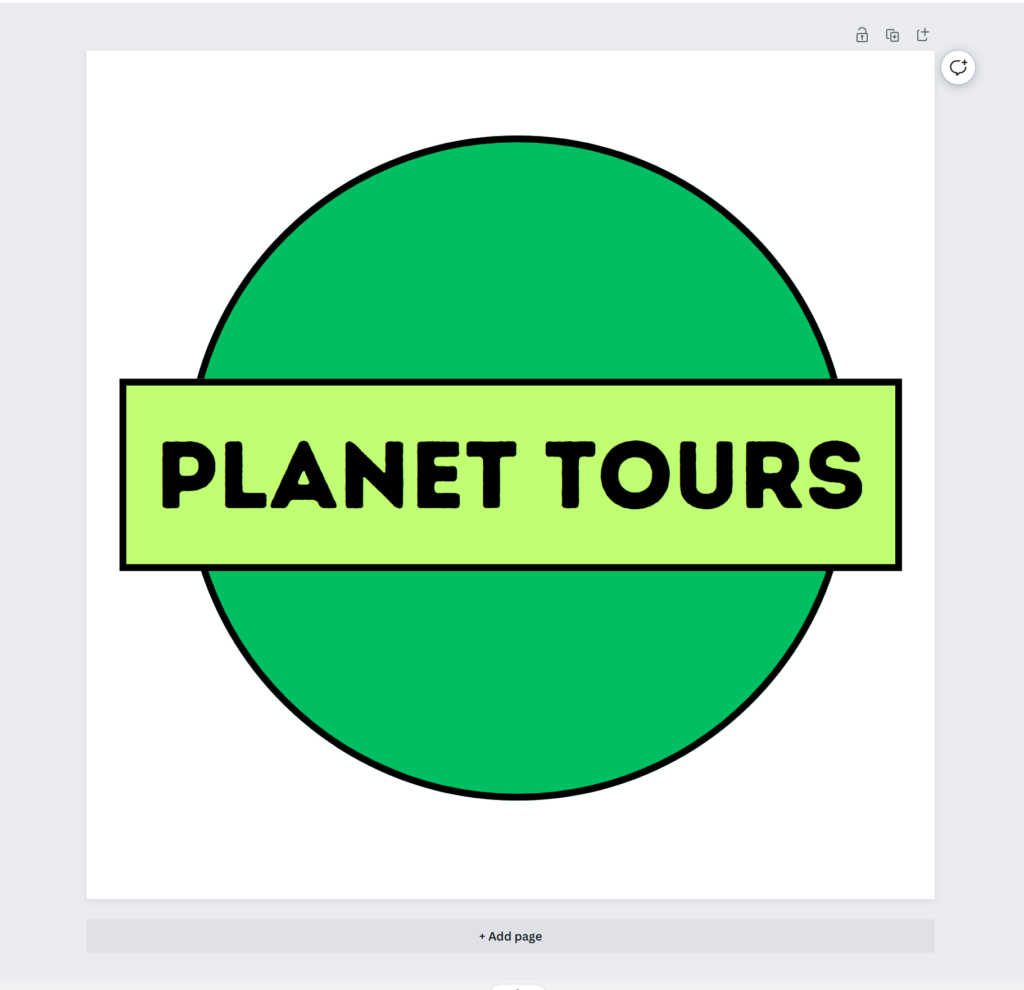
Or we could select the words and change them to match the target brand. So if we were to take our Planet Tours Brand example from earlier, we would get something like…

All we did here was change the text and alter a few of the colors for our graphic to match our Brand better. Ie green as the primary color for text, and then Dark Green for forest, Light Green for grass, Blue for oceans, Brown for earth, Grey for snow/ice, you get the idea.
So if we were to compare the two logos we created, one from scratch and one using a template, which option do you prefer?
Between the two, I think the template is a clear winner here, and in terms of the amount of time spent creating these logos, it works out roughly the same with just a little bit more time spent finding the right template.
But if we use the equation Time = Money, then Magic design will help to save us both as we end up with a higher quality logo for the time spent creating it.
Using Ai To Generate Your Own Logo
If you already have your own image that you want to use as your logo, then you can use the magic design ai feature to upload your image, and then Canva will use its ai tool to generate a series of templates based on your uploaded image.
While the technology is there and does work for other templates, Magic Design Ai is not yet intelligent enough to create logos from your images, but this will likely change in the near future. So to give you a headstart on how you would create a logo using your own design, follow these steps.
- Return to the main templates page and click on the option that says Try Magic Design.
- Select the button that says Insert Media and choose a file to upload from your computer.
- Magic Design will then generate a series of templates that you can choose from.
- Open the categories tab, and under marketing, select Logo.
- Choose the logo template that you want and then select Customize My Design.
Edit Your Ai Generated Logo
Just follow the same steps for editing your logo in the canvas as you would when using the alternative workflow, then when you are happy with the result, move onto the download stage.
Save And Download Your Logo
After customizing your logo, click on the ‘Download’ button at the top right corner of the screen to save your design. Canva offers multiple file formats, such as PNG, JPEG, and PDF. Choose the appropriate format for your needs and download your new logo.
Everything here is the same as is with the previous workflow, including our recommendation to use the transparency option that comes with the pro version of Canva.
Creating a logo with Magic Design in Canva is a straightforward and enjoyable process, even for those without any design experience.
By harnessing the power of AI, Canva’s Magic Design tool helps you generate unique and professional logos tailored to your brand. With this step-by-step guide, you’re now ready to create an eye-catching logo for your business or personal project.